
This lesson is made with PSPX9
But is good with other versions.
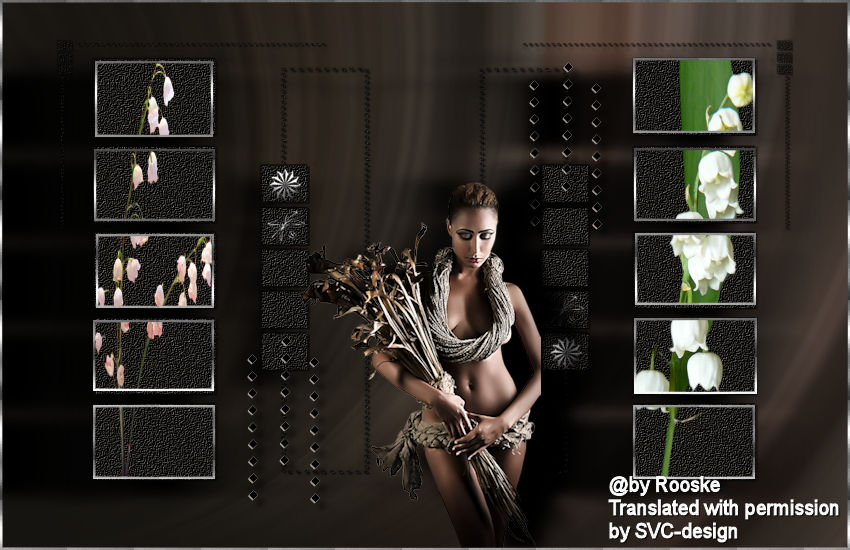
© by SvC-Design
Materialen Download :
Here
******************************************************************
Materials:
1220640084_fleurs.psp
Deco_Made-by-Sietske.psp
deco-1.psp
deco-2.psp
Image5.jpg
john farrar_32_tubed_by_thafs.psp
tubeclaudiaviza-flores47.psp
Vix_Mask386.jpg
******************************************************************
Plugin:
Plugins - FM Tools - Blend Emboss
******************************************************************
color palette
:

******************************************************************
methode
When using other tubes and colors, the mixing mode and / or layer coverage may differ
******************************************************************
General Preparations:
First install your filters for your PSP!
Masks: Save to your mask folder in PSP, unless noted otherwise
Texture & Pattern: Save to your Texture Folder in PSP
Selections: Save to your folder Selections in PSP
Open your tubes in PSP
******************************************************************
We will start - Have fun!
Remember to save your work on a regular basis
******************************************************************
Foreground: #efe2d4
Background: #161410
1.
Open a new transparent image 850 x 550 pix
Fill your empty image with background.
Selection - Select All
Open john farrar_32_tubed_by_thafs.psp
Edit – Copy
Edit - Paste into selection
Selections - select none
Adjust - Blur - Radial Blur

2.
Layers - new raster layer
fill with background color.
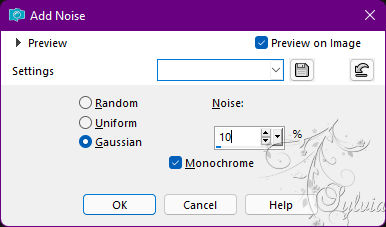
Adjust - Add / Remove Noise - Add Noise
Plugins - FM Tools - Blend Emboss - Default
Repeat Blend Emboss 1 more time.
3.
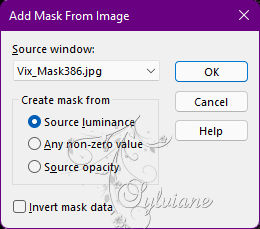
Layers – new mask layer - from image - Vix_Mask386.jpg
Layers - Merge - Merge Group
Effects - 3D Effects - Drop Shadow:
1/1/100/1 color:#000000
Repeat with HOR and VER on minus 1.
4.
Effects - 3D effects - drop shadow
15/-10/30/19 color:#000000
Note: check shadow on new layer.
Activate the shadow layer.
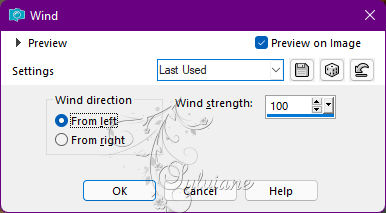
Effects - Distortion Effects - Wind from right

Activate the top layer.
Repeat drop shadow but set horizontal to minus 40 the rest remains.
Repeat distortion effects but this time from the left.
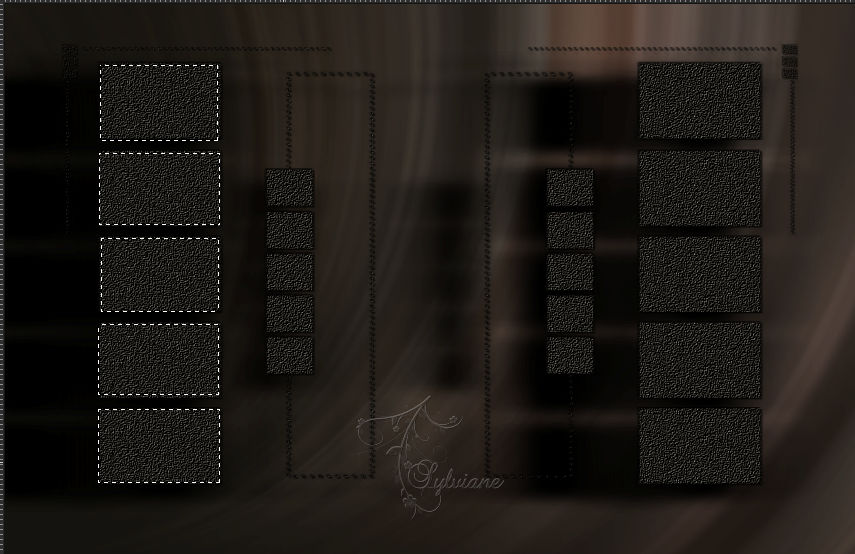
5.
Activate the top layer.
Layers - new raster layer
Activate the selection tool on rectangle - add - feather on 0.
And select the boxes all separately on the left.
Open 1220640084_fleurs.psp
Edit – Copy
Edit - Paste into selection
Leave selection.
Set your background color to silver pattern.
Selections - modify - select selection borders – 2pixels
Fill the edge with pattern.
Selections - select none
6.
Layers - new raster layer
Now select the boxes to the right of your image.

Open tubeclaudiaviza-flores47.psp
Edit – Copy
Edit - Paste into selection
Selections - modify - select selection borders – 2pixels
fill with pattern.
Selections - select none
7.
Open deco-1.psp
Edit – Copy
Edit - Paste as new layer
Resize image 3 x 80%, uncheck Resize all layers.
Put it on the top little box (see my crea)
Duplicate layers and put it right below the small box.
Open deco-2.psp
Edit – Copy
Edit - Paste as new layer
resize with 3 x 80%, no checkmark at resize all layers.
Put it on the 2nd square.
Layers – Duplicate
Layers – merge – merge down
Layers – Duplicate
move it to the right.
8.
Open Deco_Made-by-Sietske.psp
Edit – Copy
Edit - Paste as new layer
Put it above the small boxes, see my crea
Effects - 3D effects - drop shadow
7/7/50/8 color:#000000
Layers - Duplicate
put one on the other side down.
Open john farrar_32_tubed_by_thafs.psp
Edit – Copy
Edit - Paste as new layer
Resize 3x with 80%, no checkmark Resize all layers.
Effects - 3D effects - drop shadow
0/40/100/25 color:#000000
9.
Layer – merge – merge all (flatten)
Selection - Select All
Selections - modify - select selection borders – 2pixels
Fill the selection with pattern.
Selections - select none
Put your name on your creation and make your crea 600 pix longest side.
Save as JPG.
Back
Copyright Translation © 2022 by SvC-Design